A single bad batch can unravel months of brand-building overnight. Stitching that falls apart after two washes. Colors that bleed on the first wash. Fabric that loses its stretch before the customer even breaks a sweat. These aren't just product failures — they're brand-killing moments. They show up in one-star reviews and chargeback disputes.
Most activewear brands don't fail because of a bad design. They fail because nobody defined what "good enough" looks like on the production floor.
Here's a breakdown of the 5 key quality control steps every activewear brand should follow. It starts with locking down fabric quality testing standards before cutting begins. It ends with making a clear, confident shipment decision.
Launching your first collection? Dealing with a activewear supplier that's gone off track? Either way, this quality framework is what separates brands that scale from brands that stall.
Step 1: Lock Down Your Quality Standards Before a Single Thread Is Cut
Most activewear brands hand a factory a sketch, a fabric swatch, and a vague instruction like "make it stretchy and high-end." Then they wonder why the third batch looks nothing like the first.
Verbal agreements don't survive the factory floor. What survives is documentation — specific, numeric, and shared with every person who touches your product.
Before cutting starts, lock down three things: a complete Tech Pack, a quantified performance spec sheet, and a Quality Standards Manual. Your factory, your QC team, and your activewear material suppliers all need to work from the same document at the same time.
Build a Tech Pack That Leaves Zero Room for Interpretation
Your Tech Pack is the contract between your brand and your factory. For activewear, it needs to go deeper than most apparel categories.
Every Tech Pack should include:
Technical flats — front, back, and side views with every seam, zipper, panel, and elastic placement labeled
Full BOM (Bill of Materials) — main fabric (e.g., 250gsm 85% polyester / 15% spandex knit), mesh panels, ribbing, zippers, thread type (Tex 27 polyester), care labels, and polybag specs (thickness in μm)
Size spec table with tolerances — not just a base size. Cover every size from XS to XXL. List every Point of Measurement (POM) with an explicit tolerance. For a sports top, chest circumference tolerance is ±1.0 cm and sleeve length is ±0.8 cm. Write it down. Don't assume
Stitching specs — main seams at SPI 10–12 using 4-thread overlock, coverstitch hems at SPI 8–10, bartack reinforcements ≥ 1.0–1.5 cm at all stress points
Put Hard Numbers on Every Performance Standard
"Good stretch" means nothing. Minimum 80% horizontal stretch and ≥ 90% recovery after one minute — that's something your supplier can test and your QC team can verify.
Set these baselines in writing before sampling begins:
Performance Metric | Minimum Standard |
|---|---|
Horizontal stretch | ≥ 80% |
Vertical stretch | ≥ 50% |
Stretch recovery (horizontal) | ≥ 90–95% |
Wash shrinkage | ≤ 3% (warp and weft) |
Wash colorfastness | ≥ Grade 4 |
Wet rubbing colorfastness | ≥ Grade 3–4 |
Moisture absorption | ≥ 150% of fabric weight |
Pilling resistance | ≥ Grade 3–4 (Martindale) |
These numbers aren't random. Each one reflects what real activewear must handle — repeat wear, regular washing, and hard athletic use.
Sync the Same Standards Across Every Party
A Tech Pack sitting in your Google Drive doesn't control quality. That document needs to reach your custom fabric supplier, your cutting room, your sewing floor, and your inspection team. Each party gets a version built for how they work.
Here's the structure that works:
Factory package : Tech Pack PDF + Size Spec Excel + BOM Excel + physical trim and fabric sealed samples tagged to BOM reference numbers
QC inspector version : design IP removed, containing measurement tables, tolerances, and defect classification standards (critical defects = 0 tolerance; major defects AQL 1.5; minor defects AQL 2.5)
Fabric supplier brief : performance spec sheet that requires third-party lab test reports for shrinkage, colorfastness, and stretch — material gets approved for cutting only after those reports come in
Every style gets a unique Style Code. That code appears on the Tech Pack, the BOM, the purchase order, and the inspection report. No code, no production approval.
The brands that scale don't build on trust or gut instinct at this stage. They build on a paper trail — one that makes quality measurable, repeatable, and enforceable from day one, before a single thread is cut.
Step 2: Inspect Raw Materials and Trims Before Cutting Begins
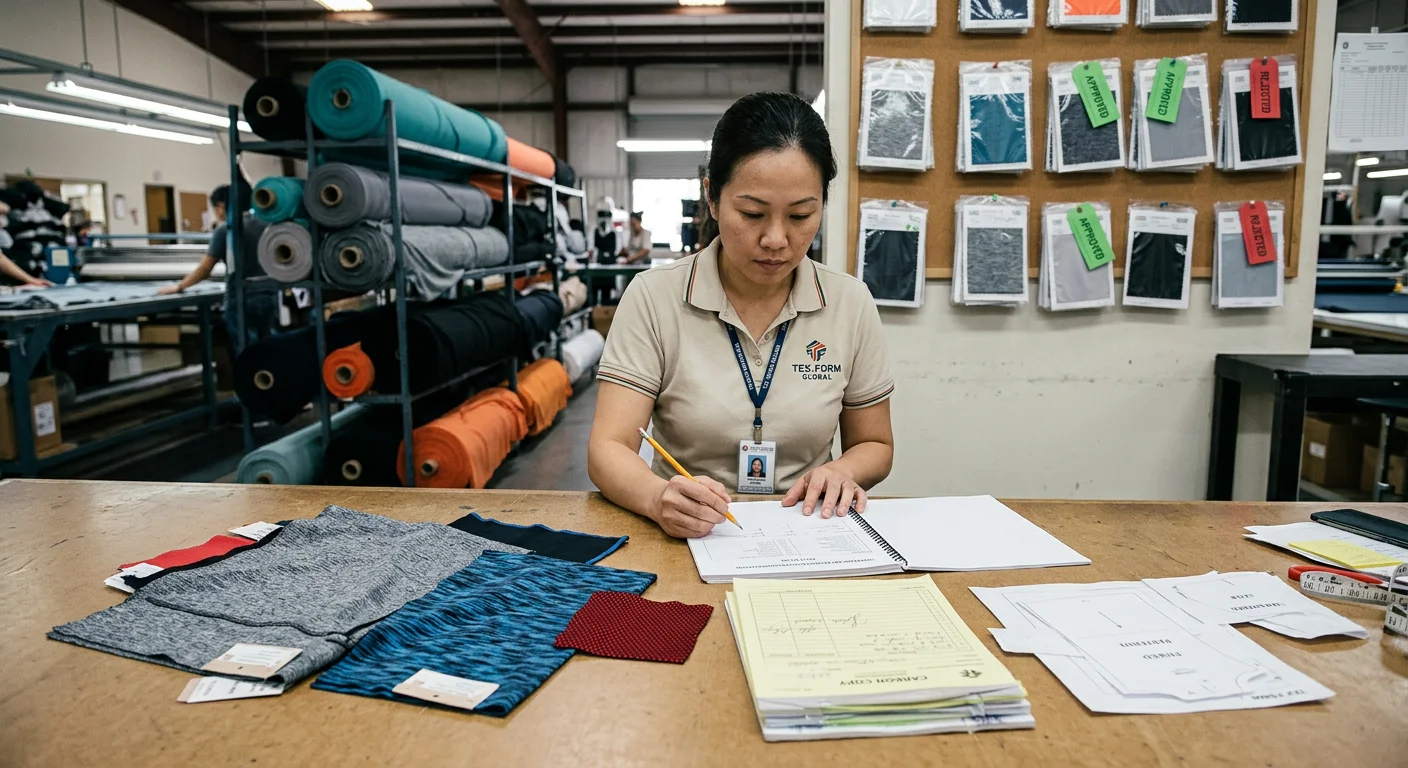
Approved samples from the sampling stage are not the same as bulk production materials. That gap — between what your supplier confirmed and what shows up at the cutting room — is where quality problems start.
Most brands skip this step. They trust the approved swatch, assume the factory will catch issues, and move straight to cutting. Then final inspection reveals two colorways dyed in different batches look nothing alike under natural light. By that point, thousands of units are already cut and sewn.
Don't let that happen. Before a single layer of fabric hits the cutting table, run a structured incoming material inspection on every batch.
Test Fabric for Color, Weight, and Width — With Hard Numbers
Color consistency is your first checkpoint. Pull an A4-size swatch from each dye lot. Compare it against your approved standard under a D65 lightbox. The acceptable threshold is Grey Scale Grade 4–5 . Anything below Grade 3–4 in a continuous, visible section gets rejected — no negotiation.
Also check shade variation within each roll — head, middle, and tail. Uneven tonal shifts across a single roll create streaky-looking panels. There's no fixing that post-cut.
Verify fabric weight by pulling samples from the left, center, and right of the width. Weigh them with a precision scale and average the result. The acceptable deviation ranges are:
Fabric Weight | Acceptable Tolerance |
|---|---|
50–100 g/m² | ±8 g/m² |
≥100 g/m² | −10 g/m² (lower bound) |
Fabric width matters more than most brands expect. Measure width at the beginning, middle, and end of each roll. For widths above 135 cm, the acceptable variance is +3 / −1.5 cm . A roll below the minimum usable width generates fabric waste and throws off your cutting yield. That cost comes straight off your margin.
Sampling rate : inspect 10% of total rolls per color per batch as your baseline. High-stakes orders need 100% inspection.
Catch the Defects That Kill Activewear
Activewear fabrics fail in ways generic woven fabrics don't. High-stretch knits hide problems that show up only under tension or after washing.
Run each roll through a fabric inspection machine at 15–20 meters per minute . For high-stretch knits, slow down. Broken elastane yarns create horizontal streaks that are easy to miss at normal inspection speed.
Score defects using the 4-Point System :
Any single severe hole or large-area broken yarn = 4 points
Standard reject threshold: >40 points per 100 yards
For premium activewear, set your internal target at ≤30 points per 100 yards
Also flag fabric skew (weft bow) before cutting. The acceptable limit is ≤2% for striped or checked patterns and ≤3% for plain fabrics. Cut from a skewed roll and your finished garment panels won't hang straight — even if every measurement reads correct.
Don't Overlook Trims
Zippers, elastic, drawcords, and labels are not decorative afterthoughts. They are structural components that affect fit, durability, and branding.
Inspect trims at AQL 1.0–2.5 , or sample 2–5% of each trim batch . Measure against your confirmed samples:
Zippers (≤60 cm): length tolerance ±3 mm
Elastic/webbing : width tolerance ±2 mm
Labels and size tags : dimensional tolerance ±1–2 mm
A trim that doesn't seat properly in the seam allowance causes problems downstream — puckered waistbands, misaligned logos, elastic that twists under tension.
Build a Traceable Incoming QC Record
Every batch of material entering production needs a documented record. That record should capture: supplier name and code, fabric specs (weight, width, fiber content), dye lot number, delivery date, rolls inspected, actual measurements, defect scores, and the final disposition — pass, conditional accept, or reject .
Link each roll number to the cutting plan for that style. A color consistency issue found during final inspection? You can trace it straight back to the exact dye lot and roll. That traceability protects you in supplier disputes.
Retain all incoming inspection records for a minimum of 3–5 years . Set supplier KPIs: target a ≥95% first-pass acceptance rate and a ≤3% rejection rate per batch. Review performance each quarter and grade suppliers on results. Suppliers who clear your incoming standards get more orders. Those who don't get a corrective action plan — or get replaced.
Step 3: Approve Pre-Production Samples to Lock the Production Benchmark
The PP sample isn't just another prototype. It's the legal and operational benchmark your entire bulk production run gets measured against.
Your factory builds the PP sample from actual bulk materials, final trims, and confirmed construction methods. Once they sign off, that sample is locked. Every unit that follows must match it. Stray from it, and you've got a contractual dispute on your hands.
Here's how to review it the right way.
Review Every Dimension, Seam, and Surface — In That Order
Start with measurements. Pull your Tech Pack, your POM table, and your approved tolerance sheet. Measure every Point of Measure on the PP sample against your specs:
Critical circumferences (chest, waist, hip): tolerance ±1.0 cm
Length measurements (garment length, sleeve, inseam): ±1.0–1.5 cm
Smaller details (neckline width, cuff opening): ±0.5–0.7 cm
Log every point as OK / Above Tolerance / Below Tolerance . Any deviation needs a factory correction plan attached before you sign anything.
Next, evaluate construction. Check SPI against your specs — that's 10–12 for main seams on stretch knits. Also check seam allowance widths, bartack reinforcements at stress points, and thread weight matching. Then run a seam pull test on high-stress zones. Critical seams on activewear need to hold without failure up to 90–120N .
Then inspect appearance. Logo and print placement must fall within ±0.5–0.7 cm of your reference points. Color deviation against your approved lab dip should stay within △E ≤ 1–1.5 . Check for thread tails, oil marks, and any fabric defects against your AQL threshold.
Put It Through Movement — Not Just a Measurement Table
A PP sample can look perfect on a flat table and still fail in motion. Before final sign-off, run a 15–30 minute dynamic wear test . Cover the actual movements your customer will perform:
Upper body : Does the hem ride up more than 3–4 cm with arms raised? Any shoulder or neck friction marks?
Lower body : Does the waistband drop more than 2–3 cm during jumping or running? Does the crotch restrict during a deep squat?
Compression pieces : Pressure marks from waistbands or grip bands should fade within 5–10 minutes of removal. Marks that last longer point to excessive compression. Fix the grading before bulk starts.
Flatlock and 4-needle 6-thread seam construction is the industry standard for high-contact zones. Seam thickness beyond 2–2.5 mm at any overlay point needs a rework flag.
Lock the Approval on Paper — And Back It Up in Your Contract
A verbal "looks good" from your production manager is not a PP approval. Get at least two to three stakeholders in the room — design, technical, and QC. They need to produce a written PP Sample Checklist and PP Meeting Audit Form with every issue documented and resolved.
Your disposition options are simple:
Conditionally Approved : minor deviations within tolerance, corrected in writing before bulk
Rejected — Resubmit : anything out of spec, wrong material, or failed fit
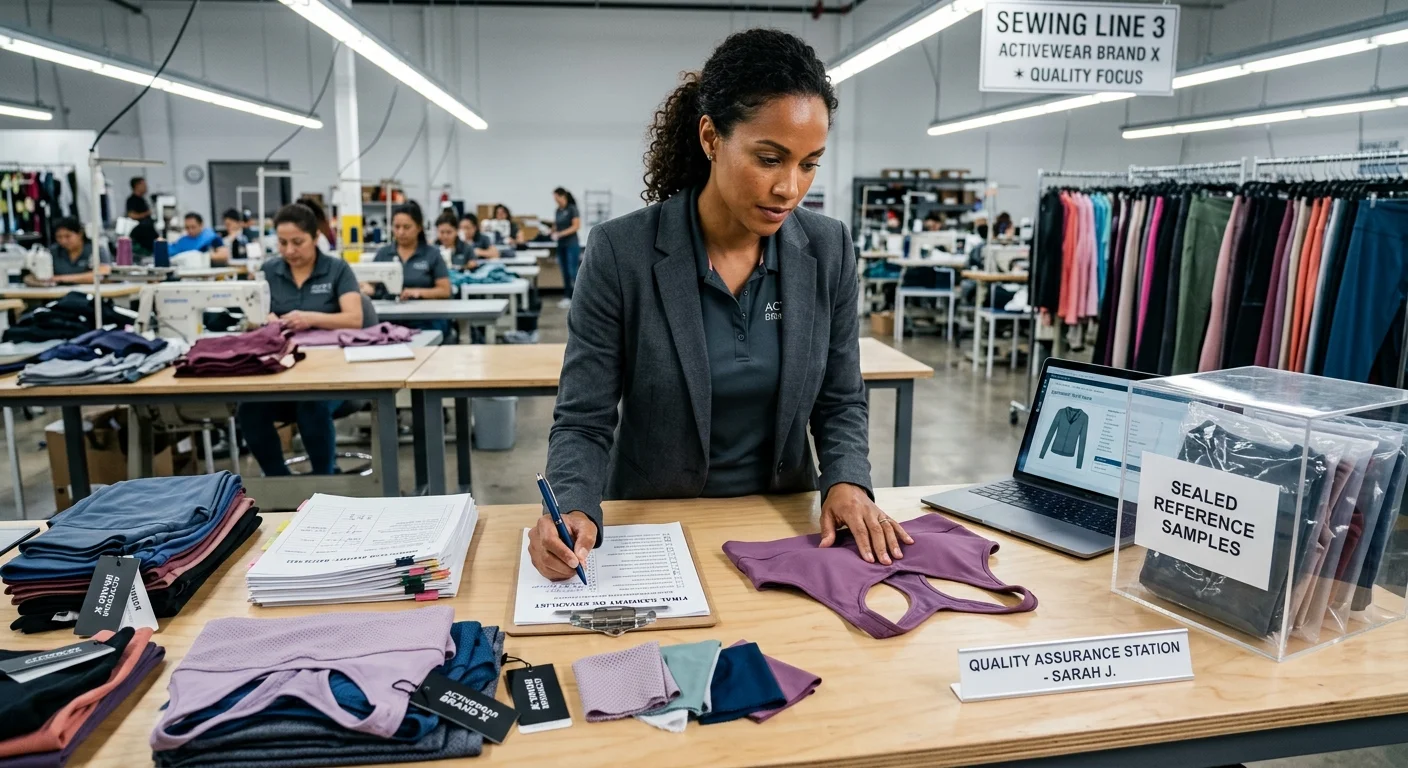
After approval, stamp the sample "Approved / Sealed Sample" and keep at least two to three copies — one with the factory, one with your QC team, one with your brand. That sealed sample is your hard evidence in any dispute.
Your contracts need to spell this out clearly. Bulk production must match the sealed PP sample across fabric, color, weight, construction, tolerances, and packaging. Deviations beyond agreed limits give the buyer the right to rework, price reduction, or outright rejection — with penalties up to 5–20% of shipment value .
The brands that never deal with bulk production disasters aren't lucky. They signed off on a benchmark, put it in writing, and kept a sealed physical sample ready to back it up.
Step 4: Run Inline Inspections While Production Is Still in Progress
Here's a hard truth most activewear brands learn the expensive way: catching a defect at final inspection means you've already paid to produce it, press it, fold it, and nearly ship it.
Inline inspection flips that logic. You catch problems while the production line is still running — while there's still time to fix them without destroying your margins.
The rule is simple. Don't wait until the order is done. Step in at three specific points during production. That alone changes the entire cost equation.
The Three Checkpoints That Matter Most
Checkpoint 1 — After Cutting (10–20% completion)
The cutting table is where systematic errors first enter a batch. Cut a panel wrong, and everything that follows is off.
At this stage, pull at least 5–10% of cut pieces and measure critical dimensions. The tolerance for activewear is tight: ±0.5 cm on key measurement points. Also check stripe and print direction errors — the acceptable error rate is ≤1% . For functional panels like mesh inserts and zipper placements, positional deviation must stay within ±0.3–0.5 cm from pattern markers. Confirm logo and print positioning marks here too, before a single seam is sewn. A chest logo center offset beyond ±0.5 cm at this stage turns into a full-batch pattern misalignment problem by the end of the run.
Checkpoint 2 — Mid-Sewing (25–50% completion)
This is your highest-leverage window. Enough units exist to show whether a problem is random or systemic. You still have half the order left to correct it.
Three defect categories dominate activewear sewing lines:
Seam deviation : Measure against pattern markers. Any offset >0.5 cm is a major defect. Over 1.0 cm is critical. For reflective strips and brand tapes, tighten that limit to ≤0.3 cm .
Stitch density failures : High-stress zones — armholes, crotch seams, side seams — require 3–4 stitches per mm (around 75–100 stitches per 25 mm). Density dropping 10–15% below spec is a repairable defect. A drop of 20% or more means stop the line.
Pattern and logo misalignment : Front-to-back print alignment must stay within ≤0.5 cm . For premium activewear brands, push that internal standard to 0.3 cm .
On the floor, inspect 5–10 pieces per line every 1–2 hours . That frequency catches drift before it spreads.
Checkpoint 3 — Pre-Finishing (70–80% completion)
Do one final sweep before garments go into pressing, folding, and packaging. You're now looking at fully constructed pieces — full dimensions, surface appearance, and functional components together.
Dimensional checks cover every critical measurement point across 5–10% of the batch , with a ±1 cm tolerance on chest, length, sleeve, and waistband. Compression pieces need tighter tolerances. Surface defects — oil stains, shade inconsistency, pilling, and pressure marks — must stay well below a 1% serious defect rate . On the functional side, zipper smooth operation must hit ≥99% , and reflective material bond strength must clear ≥7–10 N/cm .
Fix It on the Spot — Not in the Warehouse
Inline inspection finds a defect. The fix happens on the floor — not in an email thread.
Seam deviation : Stop the affected station. Place a hard ruler and positioning template directly on the workstation surface. Each operator confirms critical alignment points before the foot comes down. Pieces that are already off go to a rework pile or get downgraded — not shipped.
Pattern misalignment : Trace the problem back to the print registration baseline. Add a positioning gauge or alignment board before the sewing step. Setup takes five minutes. It prevents an entire repeat batch.
Stitch density failures : Adjust the feed dog stroke and stitch length on the machine right away — step up from 8 stitches per inch to 10–12 (the spec for activewear main seams). Run 5–10 test pieces before resuming full production. Do a basic pull test on anything already produced at sub-spec density.
Track the Data — It's How Systemic Problems Become Visible
Every inline inspection round needs a documented record. Log the style code, production completion percentage, number of pieces inspected, defect type, defect count, defect rate, and the operator or workstation responsible.
Two trigger thresholds to watch:
Any single defect category exceeds 5% of inspected pieces across three consecutive inspection rounds — that's a repeatable defect. Escalate to a process audit.
One line's defect rate sits at 1.5–2× the factory average for the same defect type over a week — that's a systemic operator problem. It needs targeted retraining or workstation reassignment.
Cross-reference your inline data against final inspection rejection rates. Mid-production defect spikes followed by rising final rejection rates point to a root cause — not just a symptom.
That's the real value of inline inspection. Not just catching bad units. You build a data trail that shows you where your production process breaks down — and how to stop it from breaking down again.
Step 5: Conduct Final AQL Inspection and Make a Clear Shipment Decision
Everything you've done across Steps 1 through 4 builds toward this moment. Your standards are locked. Materials passed incoming inspection. Your PP sample is sealed. Your inline team caught drift before it spread. Now the order is done — and you need to make one binary decision: does this shipment leave your factory, or doesn't it?
That decision needs data behind it, not gut feeling. That's what AQL inspection gives you.
Understand What AQL Means for Activewear
AQL stands for Acceptable Quality Limit. It doesn't mean "good enough to ignore." It means you've defined — in advance — the maximum defect rate you'll accept in a batch. Go beyond that rate, and statistical probability says the whole lot is compromised.
Under ANSI/ASQ Z1.4 / ISO 2859-1 , activewear final inspection runs three defect categories at once:
Critical defects: AQL = 0.0 — zero tolerance, no exceptions. One piece found = automatic Fail. This covers safety issues: drawcord lengths exceeding regulatory limits, flammability problems, fiber content mislabeling.
Major defects: AQL = 1.0–2.5 — functional or structural failures. Broken seams, zipper lock failures, significant size deviations, logo placement off by more than 10 mm.
Minor defects: AQL = 2.5–4.0 — cosmetic issues that don't affect performance. Small color inconsistencies, uneven hem allowances, minor thread tails.
Your AQL setting depends on your product tier. For standard training tees, joggers, and basic hoodies, 0 / 2.5 / 4.0 is the industry-standard combination. For high-compression performance wear, cycling kits, or any premium product where fit precision affects function, tighten to 0 / 1.0 or 1.5 / 2.5 . New supplier? Drop to 1.0 Major regardless of product type until they've built a track record.
Know Your Sample Size Before You Walk on the Floor
AQL works only if you pull the right number of units. Here's how the numbers break down for typical activewear order sizes under General Inspection Level II:
Lot Size | Code Letter | Sample Size | Major (AQL 2.5) Ac/Re | Minor (AQL 4.0) Ac/Re |
|---|---|---|---|---|
501–1,200 units | J | 80 | ~5 / 6 | ~7 / 8 |
1,201–3,200 units | K | 125 | ~7–8 / 8–9 | ~10–11 / 11–12 |
3,201–10,000 units | L | 200 | ~10 / 11 | ~14 / 15 |
Here's what "Ac/Re" means in practice: your 200-piece sample shows 10 or fewer Major defects — the lot passes. Hit 11 , it fails. There's no gray zone on the numbers themselves. The gray zone is in how you classify the defects that feed into them.
Run Through the Full Checklist — Every Single Category
AQL sampling tells you how many units to inspect. This checklist tells you what to look for on each one.
Appearance and workmanship:
- Fabric defects: color variance against your approved lab dip (ΔE beyond internal threshold = defect), holes, broken yarns, visible weft bow
- Seam quality: open seams, skip stitches beyond 3 consecutive needles, unsecured backtacks, uncut thread tails longer than 10 mm
- Hardware: zipper failing smooth operation across 3 open/close cycles, reflective strips or logo tapes positioned more than 5 mm off spec
- Print and heat transfer: cracking or bubbling larger than 5 mm , chest logo center deviation exceeding 10 mm
Measurements:
- Measure every unit in the sample at every critical POM — no skipping. Size deviations beyond ±2–3 cm on chest, waist, or hip count as Major. Beyond ±3–4 cm , that's Critical.
Packaging and labeling:
- Each unit: polybag specs, care label language and fiber content accuracy (must match your test reports), size sticker placement consistency
- Scan barcodes on at least 2–3 units per carton — a mismatched EAN/UPC is a Major defect, not an admin error
- Outer cartons: PO number, style code, color, size, quantity, and country of origin must match your Packing List without exception
Apply the Pass / Conditional / Fail Decision Framework
Inspect your sample, count the defects, then run them through this logic:
Pass : Critical = 0, Major ≤ Ac, Minor ≤ Ac. The shipment ships.
Conditional Pass : Critical = 0, but Major or Minor defects land between Ac and Re. Or the defect count passes on paper, but the same flaw clusters in one size or one construction zone. A waistband skew showing up on 8 out of 10 medium-size units in your sample is a pattern, not randomness. That triggers a written Conditional approval. The buyer signs off on a rework plan, a price adjustment, or a downgrade designation before the freight booking is confirmed.
Fail : Any Critical defect found, or Major/Minor counts hit Re. Full stop. The lot goes back to production for 100% sorting or rework — and a new AQL inspection runs on the reworked batch afterward.
Don't skip that last point. A reworked batch needs a fresh inspection at the same AQL level. Rework fixes individual units. It does not guarantee the process that created the defects has been corrected.
Make the Shipment Decision in Writing — Always
The final inspection report isn't a formality. It's the last line of defense before your product reaches customers.
Your report must capture: style code, order quantity, lot size, sample size, defect counts by category (with defect codes), Pass / Conditional / Fail disposition, and the name and signature of the inspector. For a Conditional result, the document must include the specific buyer-agreed resolution before the shipment gets authorized.
One more non-negotiable: keep all final inspection records for a minimum of 3–5 years . A customer dispute, a chargeback, or a regulatory inquiry can come in six months from now. That document is your evidence. Without it, you're arguing from memory against a customer with a photograph.
Brands that ship with confidence don't lean on hope. They build a systematic inspection process, a pre-agreed decision framework, and a paper trail that holds up under scrutiny. That's the difference between a quality control process and a quality control system — and it's what keeps your brand's reputation intact, order after order.
FAQ: Activewear Quality Control Questions Brands Ask Most
These are the questions that come up every time a brand gets serious about quality. Short answers, straight to the point.
How many quality checkpoints should a sportswear factory run?
A solid factory runs at least five checkpoints:
- Incoming material inspection (IQC)
- Pre-production sample approval
- In-process inspection (IPQC)
- Final QC
- Packing verification before shipment release
Your activewear manufacturer should name all five without hesitation. Can't do that? That's a red flag worth acting on.
Which lab tests matter most for activewear?
Five tests cover the core failure points:
- Shrinkage — AATCC 135/150
- Colorfastness — ISO 105-C06 / AATCC 61
- Pilling resistance — ISO 12945
- Seam strength — ASTM D1683
- Abrasion resistance — ISO 12947
None of these are optional. They're the minimum baseline for performance apparel going to market.
What fabric checks should I ask for before cutting starts?
Check these before you approve cutting:
- GSM and width variation
- Shade consistency through lab dips and shade bands
- Handfeel tested against your sealed sample
- Compliance certificates like OEKO-TEX or GOTS where relevant
Skip these steps and you risk mismatched dye lots sewn into finished product. That's a costly mistake to fix after the fact.
Which certifications signal a manufacturer takes QC seriously?
Here's a quick breakdown:
- ISO 9001 — covers management systems
- ISO 14001 — covers environmental controls
- OEKO-TEX / Bluesign — signals chemical safety
- GRS — matters if recycled content is part of your material mix
These certifications don't guarantee quality on their own. But a factory that holds none of them is telling you something important.
How do I know if a manufacturer understands my standards?
Ask for three things before bulk production starts:
1. An approved golden sample
2. A signed manufacturing agreement that references your tech pack
3. Documented inspection criteria with defect classifications in writing
A factory that pushes back on any of those three? That's your answer right there.
What are the most common defects in activewear production?
By frequency, here's what shows up most:
1. Shrinkage beyond spec
2. Colorfastness failure
3. Seam puckering
4. Skipped stitches
5. Print placement drift
6. Missing or undersized bartack reinforcement
7. Packaging errors
Every single one is preventable. And every single one shows up in brands that rushed past steps two through four above.
Conclusion
Quality control isn't a final checkbox — it's the backbone of every activewear brand that grows and scales.
The five steps outlined here aren't theory. They're the exact production standards that split brands with loyal customers from brands buried in returns, disputes, and damaged reputations. Lock down fabric quality testing specs before production starts. Run a strict final AQL inspection before anything ships. Every step builds on the last. Skip one, and the whole system breaks down.
Here's the truth most brands don't want to hear: quality failures rarely happen on the production floor. They happen in planning meetings where quality standards were never defined in the first place.
So do this now — audit your current supplier against these five steps. Ask them to walk you through each one. No straight answers? That tells you everything.
Ready to work with a sports wear manufacturer that treats quality control as non-negotiable? Talk to the Berun team and see how we protect your brand — before a single piece ships.